Every household plant needs repotting, similar to the pitcher plant. Repotting Pitcher plant requires when the soil becomes compact and shrinks, and there will be no space left for the plant to grow further. These carnivorous plants need extra space to grow and let their roots grow; this is possible with the help of repotting. If you want to get complete information about repotting pitcher plants, this article is for you.
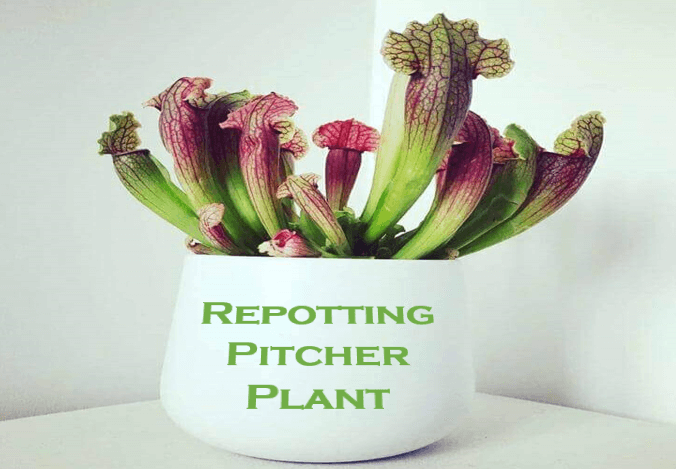
Most carnivorous plants, such as pitcher plants and Venus flytraps, need repotting after every 2 years, and you need to be careful while repotting them. This article contains complete information about the pitcher plant, all the dos, and don’ts that you should keep in mind, along with the materials needed and the post-repotting care of the pitcher plant. Stay tuned if you want a step-by-step guide about repotting a pitcher plant.
Why Repotting Is Important for Pitcher Plants?
The roots of pitcher plants are extremely small and shallow, and there are vital chances of them getting root bound when you put them in smaller pots. Soil easily decomposes, get old, and compacts after a while of potting, and there is not much moisture and nutrients available in the soil for the healthy and perfect growth of the plant. When there is reduced soil aeration, there will be more unhealthy bacteria that can result in root rot and stunt growth.
When the soil is old, there will be more moisture retention. When you change the soil and add fresh soil, the plant will renew, feel comfortable, and grow healthy. There is a chance of weeds contamination; if weeds contaminate one area, it is nearly impossible to remove them. That is why you will need to repot to reduce the chances of these diseases.
When To Repot Pitcher Plant?
Some signs will indicate and tell you that you need repotting; the best time to repot your pitcher plant includes 2-3 years. When you notice these signs, you must repot your plant immediately. Some of the signs that indicate the need for repotting include;
- Contamination of large root mass around your plant.
- There is large root rot around the plant.
- Pest problem in the plant.
- The soil inside the plant is tightly bound, with more or less water than normal.
- There is a smell in the soil as if it is decomposing.
Materials Needed for Repotting
You will need several items for repotting;
- A soil mix of organic material, peat moss, and sand. You can also use a low-fertilizer mixture.
- A new container for repotting and make sure the container is 1,2 inches larger.
- A small and sharp knife or shears.
Steps to Repot Pitcher Plant
Here is a step-by-step guide for the repotting of your pitcher plant;
Step 1: Water the Plant
Water the plant before taking the plant out; this watering will loosen the soil from the pot and help you loosen the soil from the pot corners.
Step 2: Take the Plant Out
Hold the plant with gentle hands and slowly remove the pot, don’t pull the upper branches or trunk of the plant. If you think it is hard to take the plant out, you can also use a sharp knife to cut the edges of the soil to take the plant out.
Step 3: Prune the Roots
When you take the plant out, do a root check and find any deal, moldy or rotten roots. Avoid touching the root ball if the roots look healthy, as it can cause stress to the plant. Use your fingers to release the roots if they are thick and entangled.
Step 4: Prepare the New Pot
Now clean the new pot, wash it, and rinse it. Dirty containers can contaminate the plant with multiple diseases. Now add the soil to the bottom layer of the pot and place the root ball a few inches under the edge.
Step 5: Put Down the Plant
Place the plant at the center of the pot and add soil at the sides; tap the soil gently to check if the soil is firm.
Step 6: Water the Plant
After adding the soil above the plant, it is time to water them to heal all the wounds and to anchor the plant in its new body. Keep watering the plant until you see water coming out of the plant.
Post Repotting Care of Pitcher Plant
After repotting the plant, it is wounded and takes almost a month to return to its normal position. When you repot the plant, could you place it in a bright and sheltered place? Avoid keeping the plant in direct sunlight. Make sure you are watering the plant on a schedule and stick to the schedule, as new plants need more water to anchor their roots.
Conclusion
Repotting pitcher plants is easy; you can do it by following the guide in this article. Taking care of them after repotting is essential as they are in shock and need the right growing conditions to adapt to the new environment. Pitcher plants are exotic and take away all the attention if you place them inside your house or office. Their unique and stylish appearance attracts many plant parents, and they make a valuable addition to the collection of other plants.
FAQs About Repotting Pitcher Plant
What type of soil do pitcher plants need?
Pitcher plants need a mix of organic material, peat moss, and sandy soil. If you are planting it indoors, you must fill a container with a low-fertility mixture of peat moss and lime-free horticultural sand or perlite. Adding a carnivorous plant potting mix is also a good option to ensure the proper growth of these pitcher plants.
Do pitcher plants need large pots?
You need to ensure that the size of the plant should be proportional to the size of the plant. If your plant is small to medium-sized, Venus flytrap will grow perfectly in a 3 inches pot, but if you have large plants, the maximum size of the plant you need is 4 inches or 6 inches. Most of the time, 4 inches of the pot is enough for the perfect growth.
Should I cut off Brown pitchers on the pitcher plant?
Pitcher plants and leaves usually die. Naturally, you need them off to keep the plant healthy. It would help if you prune the green vine stems to enhance the shoot’s growth and overcome the loss quickly and efficiently.
How do you repot a Nepenthes pitcher plant?
There are several steps that you need to do for repotting a Nepenthes pitcher plant;
- Remove the plant from its current pot and hold the base in one pot in another.
- Now remove the old roots and stuff from the older pot and brush them off to remove any root rot or other disease and make the roots clean.
- Prune or divide the plant if necessary.
- Prepare the new pot with the new potting mix
- Add the plant into the pot and water it efficiently.


