Repotting monstera plant is an important part of its life circle and requires special attention to ensure the plant continues to thrive. If you decide to move your monstera plant to a new and cleaner pot, you must repot it.
Repotting monstera deliciosa is easy; you can do this easily if you know the basic technique of repotting a plant. If you want to know how to repot your monstera plant, you are reading the right article.
Repotting a plant is necessary every two or more years after planting a pot. It can cause damage to the plant if not done properly; you will need the right information to save your plant from shock and leaf drop.
This article will teach you the basic steps to repot a Monstera and the necessary materials. Stay tuned if you want detailed information.
Why Repotting Is Important for Monstera Plant?
There are different plants outdoors and indoors that need specific conditions to grow, you cannot grow them inside containers, and some plants can grow in a restricted area. In contrast, others need space and particular conditions to grow.
The roots of plants are unceasingly growing along with the plant’s growth. These roots need space to grow outward as well as inward and need space. If you plant them in a container, there will be no space for the roots to grow. But, if these plants grow in their natural habitat, they have natural space to grow completely.
If you are wondering why is my monstera drooping after repotting? It is because they need repotting. Monstera plants can endure tight spaces, but with the increase in time, there will be no space for them to grow.
Their roots will come out of their space from the bottom of the pot. There will be no water absorption, so you must do repotting. Repotting them will give them space to grow, and you can also refresh the soil. You can do repotting in spring to enhance the growth.
When To Repot Monstera Plant?
If the plants are young and growing in great condition, you can repot them after one year. You can wait 2-3 years for mature plants before repotting them. You also need to check the signs telling you your plant needs repotting. How to know when monstera needs repotting? These signs will help you figure out the following;
Slow Growth
If you notice that your monstera plant has stopped growing new leaves and there are no signs of any growth from roots or leaves, you need to repot. It means they don’t have the space to grow their plant. It can be due to overwatering or cold temperatures.
Yellowing Leaves
If you see there are browning leaf edges, this means there is a lack of space, and discoloration in the leaves also indicates you need to repot;
Roots Growing Through Drainage Holes
If you see roots coming out of drainage holes, you need to repot as there is no space for the roots to grow inside the pot.
Materials Needed for Repotting
There are a few items that you will need for repotting;
- You will need a new pot; you should take one size-up pot for the perfect growth of your monstera plant. You can also take two sizes up if the roots need more space and the plant is young.
- Find yourself a new potting mix that contains 2 parts of high-quality potting soil, 1 part coconut oil, and 1 part perlite.
- Take a sharp pair of scissors or shears to trim the plant to add support inside the new pot.
Steps to Repot Monstera Plant
There are some important steps for repotting to ensure the healthy growth of your monstera plant;
Step 1: Prepare the Container
Before doing anything with your plant, you must prepare the new pot. You need to fill the bottom of the pot with the new potting mix and measure the soil as compared to the old pot. Add pebbles at the bottom to prevent soil from escaping from the bottom hole.
Step 2: Remove the Plant from the Pot
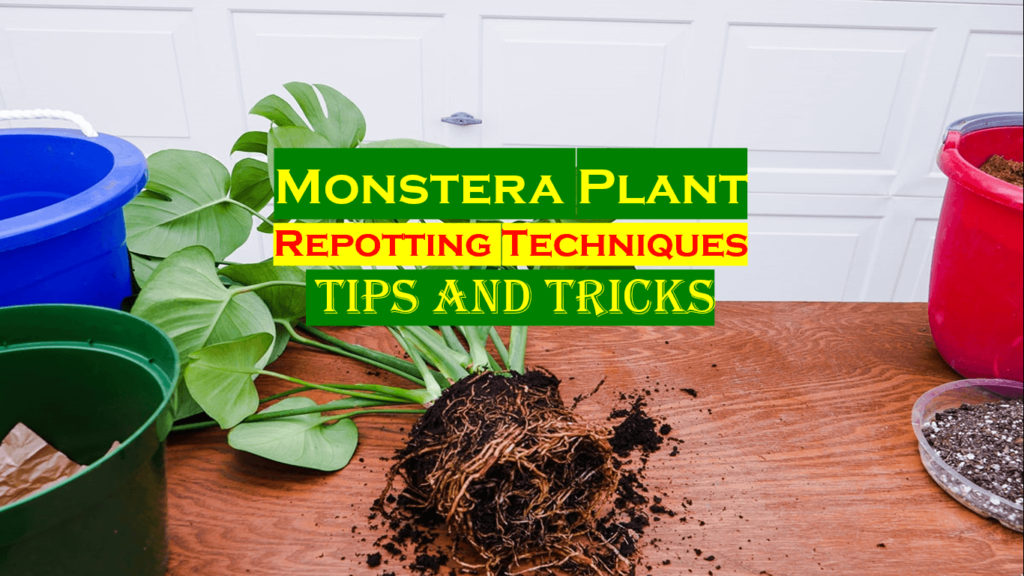
Remove the monstera plant from its container; if the size is large, lay some newspaper on the floor and gently remove the plant by pulling it out. You can also squeeze the size of the container to lose the plant.
Step 3: Tease the Roots
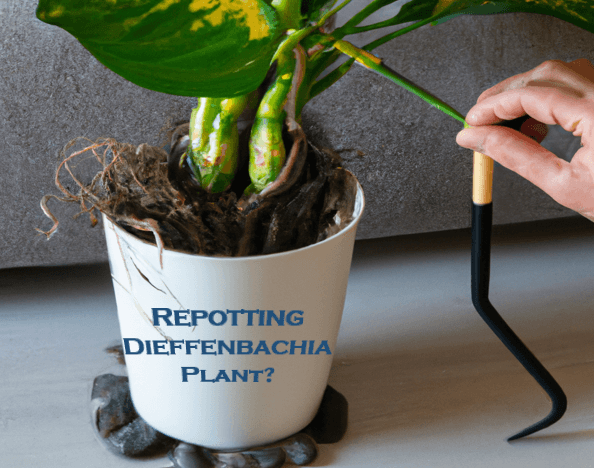
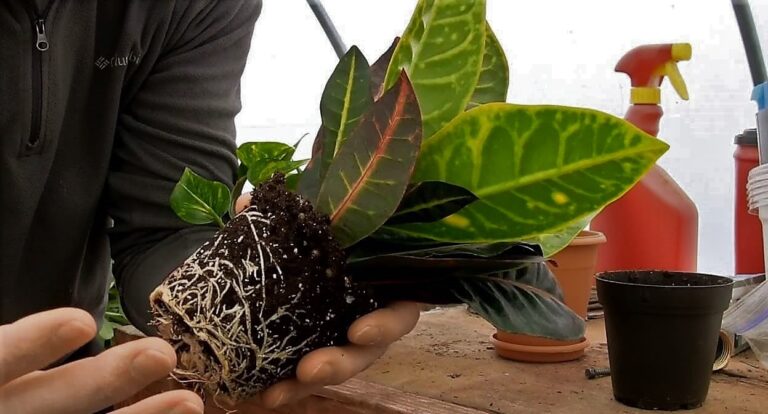
You will have to release the roots of the plants to give them space to expand outward into the new container. Release the roots with the help of your finger.
Step 4: Start Replanting
After trimming the plant’s stems to enable support, hold the base with one hand and ensure the soil is 1-2 inches below the pot’s rim. Attach the plant and fill in the sides with soil mix. Don’t fill it to the top. Press down gently to ensure the anchoring is strong.
Step 5: Water the Plant
After Securely planting, water the monstera, as watering soon after repotting will remove all the air pockets and encourages the roots to expand.
Post Repotting Care of Monstera Plant
After repotting the plant, you will have to take care of it like a new plant. Water the plant every week or two. You will also have to provide a monthly liquid fertilizer with water. This plant can grow 10 feet, and if you have a hospitable environment, weather and humidity.
It will grow to its maximum size, and you can trim them for your home. You will have to keep the leaves of the plants clean to prevent spider mites. The glossy foliage of these plants helps them look healthy and ensure a long life.
Conclusion
You can learn all the details about repotting your monstera plant with the help of this article. You must follow the steps to ensure you are doing the right thing. The steps mentioned above provide detailed instructions to repot a monstera plant. Following these 5 steps, you can regrow a healthy monstera plant in your home.
FAQs
How To Repot a Monstera Plant with Aerial Roots?
Aerial roots are not for growing in soil due to their nature. To transfer the nutrients and moisture to reach the top of the plant, you need to provide an adequate amount of water and keep these roots inside a jar of water to help them soak all the water, and then you can plant them into a new pot.
How To Prevent Monstera Plant Drooping After Repotting?
You can prevent the monstera plant from drooping by ensuring that the plant has adequate water to grow indoors. Drooping can also occur due to parchment in the soil. You must keep checking the soil’s moisture level to be poking a finger into the soil to ensure the plant has enough water to grow properly.


